Creating a Django Web Application with a PostgreSQL Database on Windows
Installing Python 3
To run the Django Framework on your system you would need Python 3 installed on your system. You just have to download the package from the official website, www.python.org, according to your operating system. Keep in mind you have to install a Python 3 version, not the version 2.
While installing Python 3 don’t forget to tick the option “Add Python 3 to your path” when the installation prompt opens.

You can check that the Python version is on your system by typing this command in PowerShell:
python --version

Installing Virtualenv
Virtualenv is a Python package that lets you create different virtual environments for multiple projects requiring different versions of the software.
pip install virtualenv

This will download and install virtualenv on your system globally.
Install PostgreSQL
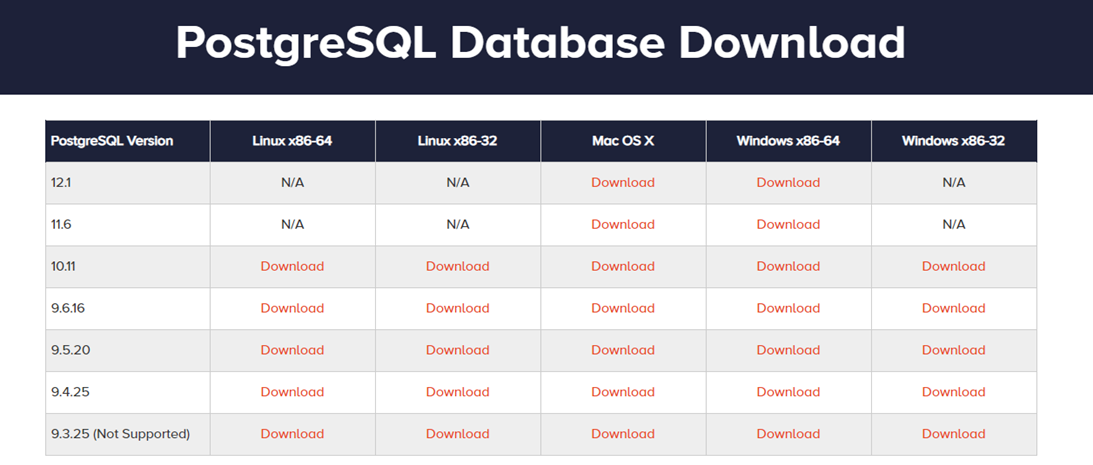
Go to the download page for PostgreSQL installers and install the latest version of PostgreSQL that is suitable to your system (64-bit Windows).
The installation process is pretty standard but here are some things you should look out for:
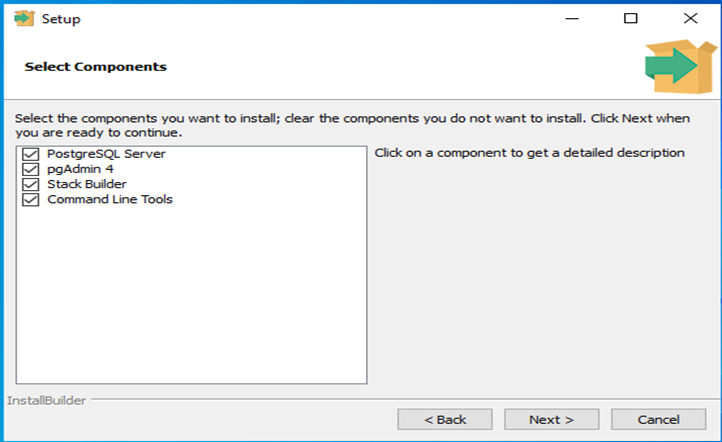
In the PostgreSQL Setup Wizard, in the Select Components page, uncheck the components that you do not want to install, or just leave it be. If you uncheck anything, don’t worry, just launch the installer later and select the component you need, and PostgreSQL will be updated accordingly.
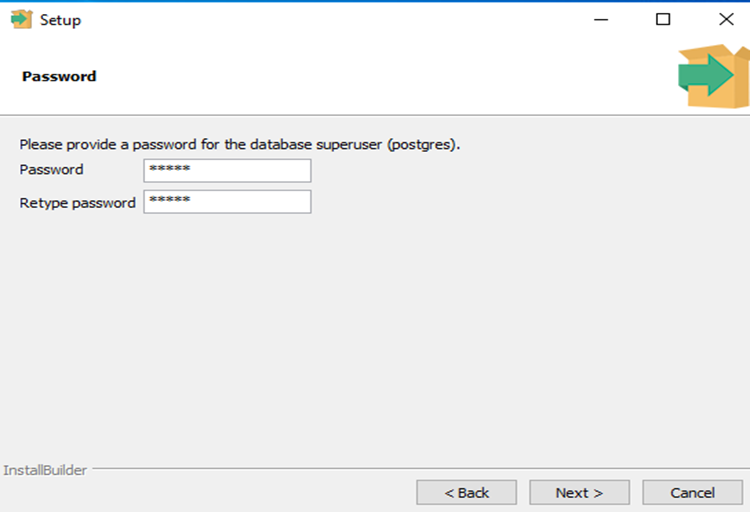
At the Password page, enter the password for the database superuser (postgres). This account will be used to access your SQL Shell (pqsl) later on.
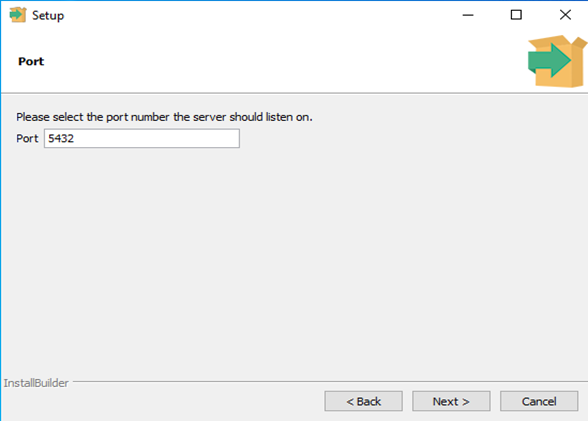
At the Port page, choose the port number that the server should listen on, or stick to the default 5432. Just make sure that the port is not currently used by any other applications.
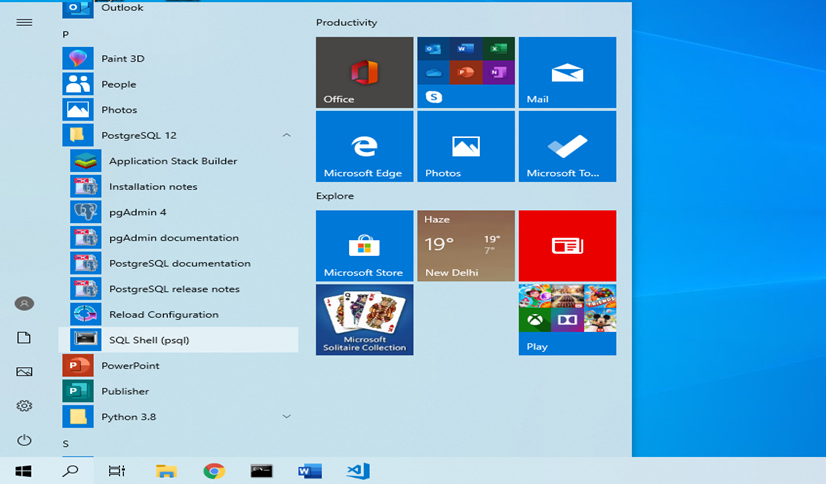
Proceed with the rest of the installation. To verify the installation, find the SQL Shell (pqsl) program and click on it to launch it. The pqsl command line will appear.
Open the command line. Accept the default for the Server, Database, Port, and Username fields by pressing Enter. However, at the Password field, you must enter the password that you chose during in the Setup Wizard.
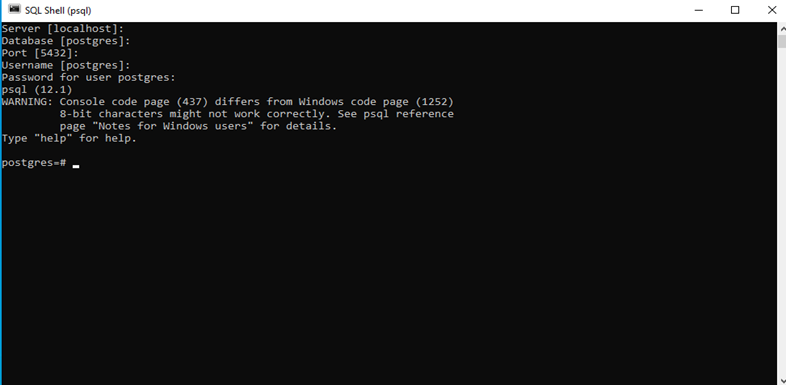
If you your window is same as the above, then you have successfully installed PostgreSQL! You will be given a PostgreSQL prompt where we can set up our requirements.
First, create a database for your project:
postgress=# CREATE DATABASE mydatabase;

Note:
Every Postgres statement must end with a semi-colon, so make sure that your command ends with one if you are experiencing issues.
Next, create a database user for our project. Make sure to select a secure password:
postgress=# CREATE USER myprojectuser WITH PASSWORD 'password';

Afterwards, we’ll modify a few of the connection parameters for the user we just created. This will speed up database operations so that the correct values do not have to be queried and set each time a connection is established.
We are setting the default encoding to UTF-8, which Django expects. We are also setting the default transaction isolation scheme to “read committed”, which blocks reads from uncommitted transactions.
By default, our Django projects will be set to use UTC. These are all recommendations from the Django project itself:
postgress=# ALTER ROLE myprojectuser

postgress=# ALTER ROLE myprojectuser SET default_transaction_isolation TO 'read committed';

postgress=# ALTER ROLE myprojectuser SET timezone TO 'UTC';

Now, we can give our new user access to administer our new database:
postgress=# GRANT ALL PRIVILEGES ON DATABASE mydatabase TO myprojectuser;

When you are finished, exit out of the PostgreSQL prompt by typing:
postgress=# \q
Installing Django
We can install Django on our system, for that again we will have to just execute some commands on our system.
pip install django
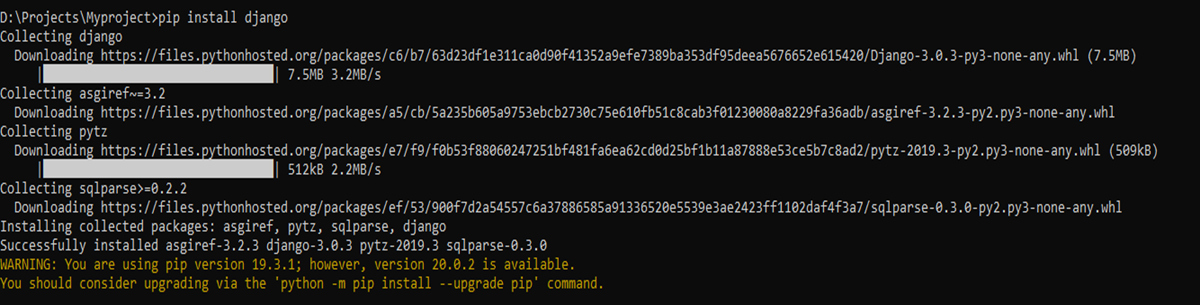
This command will install Django’s latest stable version and we will be working on the same.
Setting Up a Virtual Environment
All the necessary requirements have been fulfilled and now we can start our project. Our first step will be to set up a virtual environment for our project.
To make a virtual environment, go to the directory of your choice via PowerShell and execute this command:
virtualenv your_project_name
After the virtual environment has been created it should look like this.

Activate virual environment
For that execute this command:
on Windows, virtualenv creates a batch file
\Environment Name\Scripts\activate.bat

We will also need to install psycopg2. psycopg2 is a package that will allow Django to use the PostgreSQL database that we just configured. Similarly, to install, write:
pip install psycopg2

Now, it’s time to start a Django project!
Django-admin startproject myproject

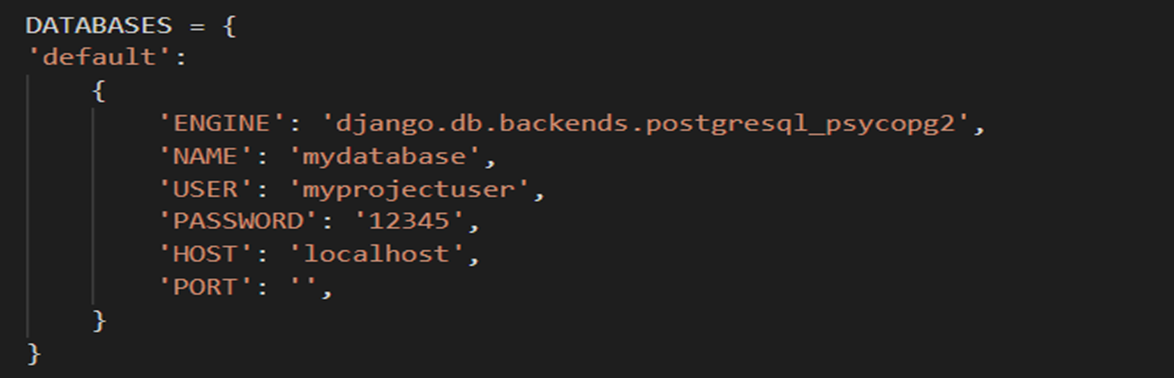
We are ready to configure the Django database settings! In the project directory, find the file “settings.py”. This file contains the configurations for the app.
Open a section labelled “DATABASES”. The section should currently look like this:

Django is automatically configured with SQLite. We’ll need to change this section to tell Django to use PostgreSQL instead.
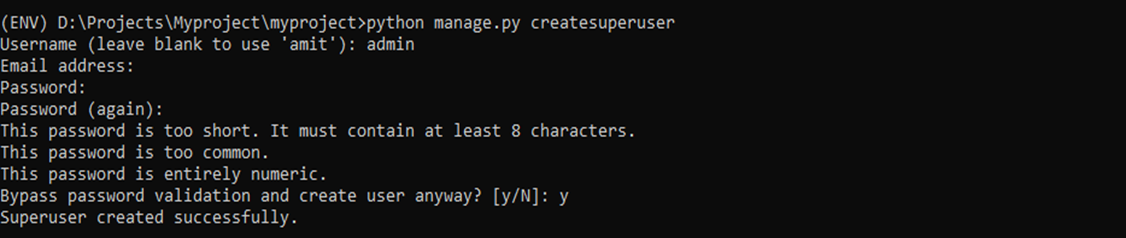
The username and password you set there will be used later when we create a superuser for the database. Create the administrative account by typing:
python manage.py createsuperuser
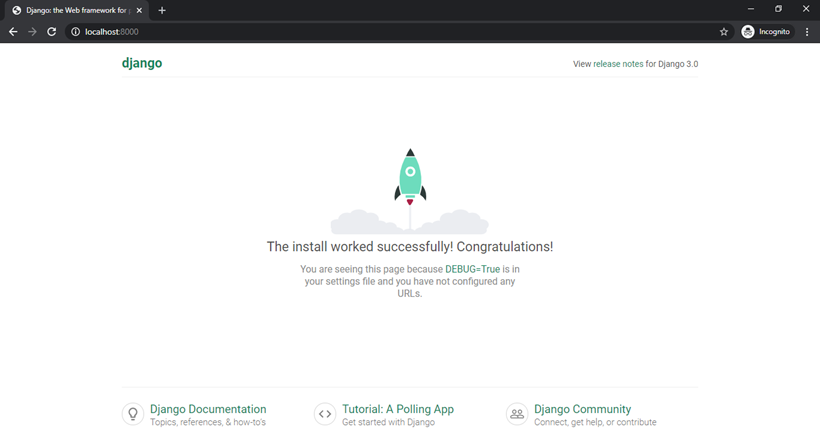
Now that everything is set up, test whether your database is performing by running the Django development server.
python manage.py runserver
Test it by going to the development server which can be found on your command prompt.

Appending /admin to the url will redirect you to the Django administration page where you can log in with the same credentials that you earlier used to create a superuser.
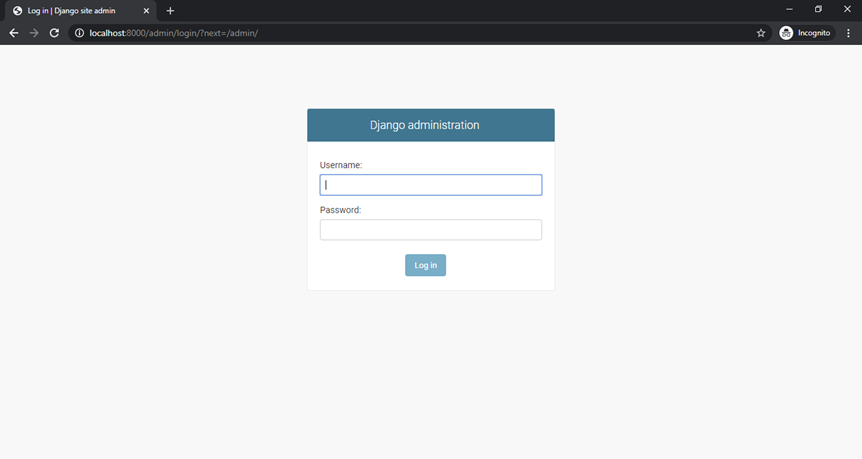
Congratulations! You have set up a Django app with PostgreSQL as the database!